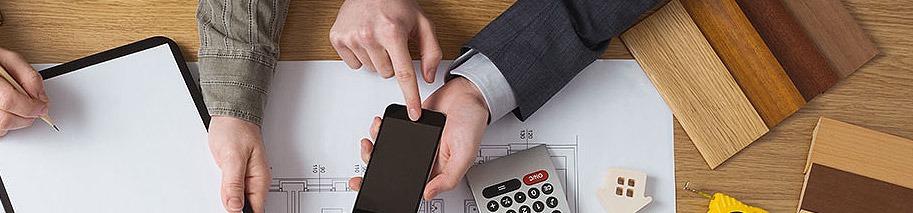
Top Uses of Wooden Boards:
Wooden boards are some of the most versatile materials for DIY projects and home construction. Because of their extensive range of capacities, versatility, and general aesthetics, they are very commonly used in many applications. Below, we cover it all, from what a board is to the different uses for wooden boards that everyone might need to consider. Check out this all-encompassing guide on the best wooden board uses for DIY and home renovations.
1. Custom Shelving
Wooden boards are very versatile, and one of the most common things to do is make your shelves. Stubborn shelves themselves — of the wooden variety, judiciously placed to match your precise space and style requirements, whether they are sleek floating selves or rustic brackets.
How-To:
You can plan the measure: simply calculate and estimate the size of your room, select an appropriate village, such as Measure Pipe Shelves, and precisely attribute the accurate dimension you wish to make.
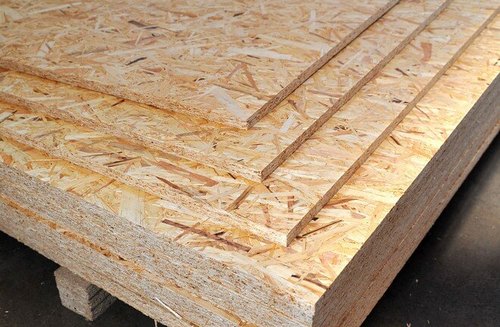
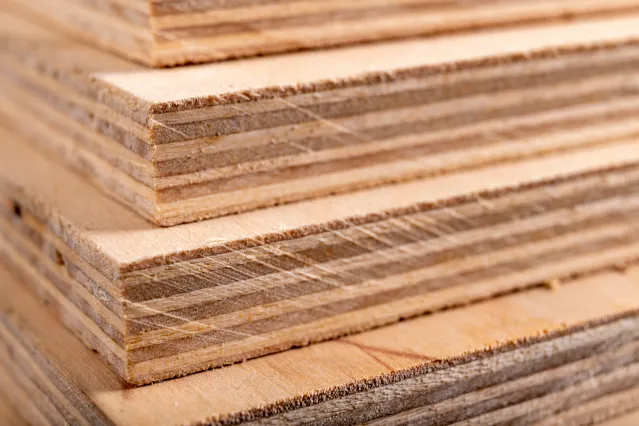
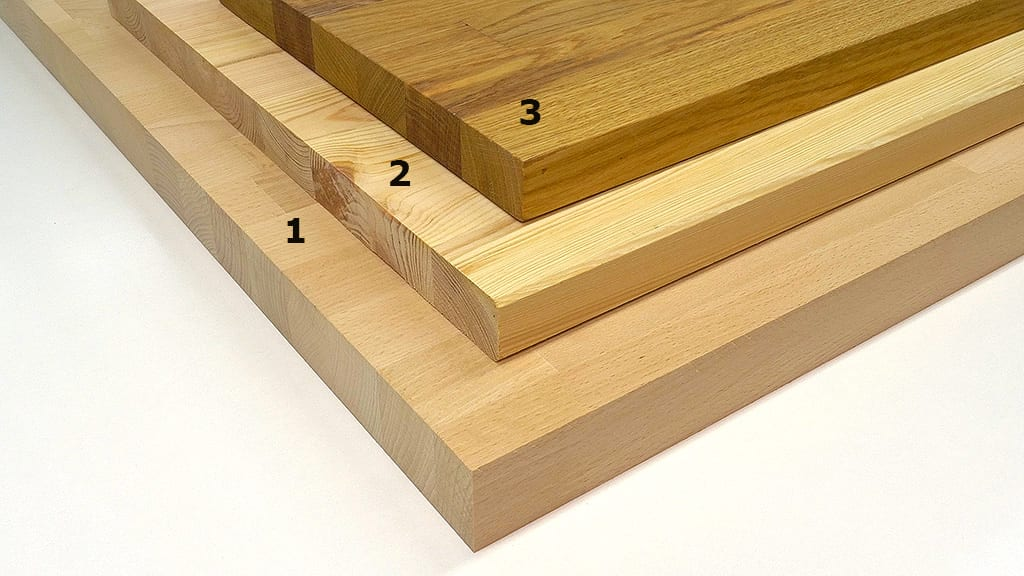
Choosing Wood: Choose the best wood for your style and weight specifications. Harder hardwoods have been more practical and often the go-to for chairs with an oak or maple you can buy together. Softer woods are cheaper but less expensive.
Cut and Build: Cut the boards to length, slightly round off the edges with sandpaper & add your favorite paint or wood stain. Based on your design, install brackets or floating shelf supports.
2. Accent Walls
Wooden boards can turn an ordinary wall into a center of appeal. Wood accent walls bring warmth and texture to a space.
How-To:
Select the Wood: Reclaimed wood, shiplap, or tongue and groove boards are great for accent walls.
The Surface: Clear the wall and wipe out any mounts. If the wall is another color or has a texture, you will need primer.
Install the Boards: First, measure and cut your boards to fit the length of the wall you want to be covered. They need to be glued and nailed or screwed in place with construction adhesive. Smooth any seams or nail holes with wood filler and top of the buildout by painting or staining.
3. Furniture Building
Wooden Board planks can be used to make custom furniture, from tables to chairs. The fine thing about DIY furniture projects is that you get to customize your pieces, so they allow some freedom in terms of what size, shape, and color is best suited for the space.
How-To:
Step 1 Design Your Piece: Sketch out your design and list of materials. You may use hardwoods for strength or softwoods if a lighter preponderance is essential.
Cut and Piece Together Saved cut the planks for dimensions. The primary function of the wood glue and screws or nails is to hold your furniture together. Sand and finish the piece in your chosen aesthetic.
4. Storage Solutions
Wooden boards can be used to make crates, bins, and organizers. These items help keep your house clutter-free while providing a rustic vibe.
How-To:
Structure Your Storage Selection: Choose The Best UTV/ATV Gun Rack You Need, such as wooden crates for toys, books, and gardening.
Create the Bins: Size and cut boards, then build small crates/bins with wood adhesives, attaching them using nails. For a durable finish, sand the edges and paint or apply a clear wood sealer.
5. Picture Frames
Make your wooden picture frames to match the style of your house. Frames can be classic or modern.
How-To:
STEP 2 MEASURE AND CUT: Determine the size of your frame by measuring the dimensions of the art print or photograph you will set in it. Baseboard-cut to fit, cut corners at a 45-degree angle so they come together nicely.
Put Together: Attach the frame using wood glue and small nails or screws. Place a backboard and glass or acrylic sheet to secure the art.
Finish: Sand your frame and paint, stain, or use a clear coat finish to match your decor.
6. Wooden Panels for Doors
Add Pine Wood Shaving panels to your interior doors for an upgraded, custom look. The muffler is a great way to spruce up your doors without switching them out for new ones.
How-To:
Design: Select your choice panel style — raised or flat panels
Panels: Measure and cut the wood boards for each door section. Then, attach the panels with wood glue and finish the nails.
Step 8: Finish — Sand the Panels smooth and paint or stain to match your door’s current finish.
7. Wall Paneling
Wooden wall panels of Plywood Near Me will give a unique charm and smooth appearance. Feature Is A Helpful Way To Build Your Feature Wall or Hide Beautiful Blemishes On The Original Walls.
How-To:
Panels: Wainscoting, Beadboard or Reclaimed Wood Panels
Step 1 Prepare and Install: Measure the Wall and cut Down Panels. Use adhesive and nails or screws to attach the panels. Caulk or fill any gaps or seams with wood filler and paint or stain to the desired finish.
Conclusion
From DIY projects to home renovations, the possibilities are endless with wooden boards. Wood’s natural beauty and versatility make it a desirable material, however, whether you are building furniture or custom storage solutions to add decorative elements throughout the home. Understanding the different ways to use/decorate wooden boards can help you spice up your living area with exquisite pieces that are also usable.
 +380 63 265 7682
 info@europepellets.com